Showing posts with label Multicultural Art. Show all posts

Saturday, June 7, 2014

Ohlone Basket Weaving


K-5 artists are studying Ohlone basket weaving. The Ohlones are master basket weavers and Encinal students are learning more about the People, plant biology & native plants, and basket weaving using natural (willow shoots, sedge & bracken fern roots) and synthetic materials. Ask your student what a spoke is, how the Ohlone cooked in wooden baskets and if their baskets really could hold water. Mrs. Noon hopes to pass on the Ohlone’s respect for nature and native plants, beauty in form and function, attention to detail and resourcefulness through this unit. Find out more about California basket making here: California Parks- information on Indian Basketry. Did you know a traditional Ohlone basket takes almost 3,000 hours to weave and could use 20,000 stitches? Our baskets are taking 2-4 art classes. We couldn’t think of a better activity to do while we wait for the willow to grow! Students have really enjoyed learning about this art form, reading selections from The Ohlone Way by Malcom Margolin (young adult/high school age appropriate book in it's entirety) and learning about local artist...

...Linda Yamane, Ohlone basket weaver.
Ms. Yamane, a Rumsien Ohlone from the Monterey Bay area, is almost single-handedly preserving traditional Ohlone basket making. She also is working hard to preserve the language of her people. To learn more about Ms. Yamane and California basket weaving, click on the links below.  
Basketmaking links:


***Spark! video on Julia Parker's basket weaving & Pomo legacy*** (a great video) 

California Indian Baskets - State Park website  

Video - Life in the Arts, Linda Yamane  

First few chapters of Margolin's 'The Ohlone Way' 


Andrew's basket, 4th grade                                                                                                                  Helena's basket, 3rd


Sunday, January 19, 2014

Indian Art: Mendhi (henna), Yoga life drawing & Mandalas

We are studying India at school thanks to Cultural Arts Day. The 3rd-5th graders and I just began learning all about Mendhi (or Mehendi). It's also called Henna, as you make the paste from the dried leaves of the henna plant. It is applied to the hands and feet traditionally just before a really big event like a wedding or baby's arrival. Henna is also practiced in Arabic countries, Northern Africa, and in the Jewish culture. Their designs are not quite as detailed and filled in as the Indian designs (which almost look like lace). The Arabic designs have a bit more negative space and use floral motifs while the African designs are more geometric.

The Mendhi designs fit in perfectly with my curriculum. I was recently saddened at the loss of cursive in so many states' new Common Core standards. California is one the few to KEEP cursive in the curriculum (3rd/4th standard)- bravo California. I had been interested all year in finding a way to incorporate some cursive into the art curriculum. You must look at the link below for the Elements of Henna Patterns, by Catherine Cartwright-Jones. Ms. Jones is the Henna guru- the art, the science, the recipes, the designs, the history of henna. Everything is documented on the hennapage.com Now back to cursive...you'll see how some elements of henna, like "foofy" and "sloopy", are similar to English cursive. These elements, when repeated in a thoughtful way, make the most beautiful designs. Also the art of Zentangle (zentangle.com) and calligraphy are other ways to incorporate cursive and cursive-like marks into the art curriculum. But for now, I'd like to focus on my experience with henna/mendhi (handouts, design ideas, recipes, experience) and Indian arts...

Resource used in and out of classs:
Elements of Henna Handout
   from the hennapage.com 
- Mendhi Designs (Dover book) & Dover temporary henna tatoos (hearts, peacock, paisley)


1/18/14- Last night was my first time ever applying henna. I was excited to try out the designs I'd been practicing on paper and utilize all my hard work researching the techniques, tools and traditions. It was fun and I was happy it was successful. I used the Jacquard kit that Michael's sells but just ordered some cones on Amazon with the paste ready to go (more economical). I made my own cone from cellophane triangle using the Boat People Vintage's DIY video http://www.youtube.com/watch?v=P_oe4AtPe3M  Controlling the flow of the henna was fairly easy and I enjoyed using more pressure to make "knots" (little balls at the ends of lines). Those were actually easier to pick off later than the thinner strings of henna.

I let the paste stay on my hands and feet 1-3 hours. Every 15 minutes or so I'd add lemon/sugar/water (just a little with a cotton ball, don't want to smear it or let it run) to the drier parts so the stain will stay moist and darken the skin more. I scratched off the paste on my hand before going to bed but left the paste on my feet over night. Heat darkens the color, which is more desirable in India, so I wrapped my feet with tissue paper and big socks for heat but also so it didn't get all over my sheets. After scraping the paste off, the stain is bright orange on the skin. Later it oxides to a darker orange/red/brown (thicker skin like hands=darker stain, thinner skin like arms=lighter stain). I recommend scraping with a credit card and your fingernail. This morning I made a peacock on my kid. It was a really "fun morning" for her, watching shows and eating in bed while it dried. She only bumped it once, not bad for a 3 year old. Remember the henna stains so have old towels and wet & dry paper towels all ready to go. I also used the pin, toothpick and q-tip that was included in the kit to wipe off mistakes (which you can do very easily right away). By the way the henna is really forgiving. It's almost like a clay paste with nice form and moveability. I like Jacquard's tip to turn mistakes into an opportunity to try something new. Also the henna really uses all the senses: it smelled delicious thanks to the eucalyptus oil you mix in plus it had a cooling effect on the skin. It asks as a sunscreen as well and must feel great in the heat of India. This has been a good connection to nature (and more coming with our yoga studies).


Day 1 hand much lighter. Day 4 hand very dark. The cracks in the peacock is now showing (from bending my hand while henna was still wet). Yucky! Do I fill in the cracks with more henna or let it fade? Looks like alligator skin :(


Day 4 feet look great, no cracks and very dark. Like the new jellies?


Since we won't use henna paste on kids' skin at school I researched some alternatives to henna. Henna paste is all natural but people have been known to be allergic (you can test a small bit the day before). And you're committed to a few hours of not moving or touching the adorned body part and some maintenance later in the day or the next morning with scraping it off (also trying not to get it wet too much). Here's some ideas for temporary Mendhi without henna:

-Mendhi rubber stamps and a brown stamp pad. Nice that they aren't mounted on wood so you can bend around skin. Oversized brown stamp pad is great. Thumbs up! 
-Fiskar's gel pens drawn onto paper then transferred onto your skin with a wet warm cloth. Double thumbs up! http://www.wikihow.com/Create-Your-Own-Temporary-Tattoo
-Tulip brand body art marker (Michael's). It was okay but not nearly as much fun or work as the henna paste. They were also expensive and seem like they'll dry quickly. Thumbs down.


Next up with India...yoga poses & life drawing and possibly mandalas. The "Yoga Kids" video with Marsha Wenig (and her website) has been a good resource for me. I purchased a resource online called Young Yoga Masters (ABC Yoga) http://www.youngyogamasters.com/ Also big kuddos to Eliane I. Pierce on the recent publication of Deep Green Yoga, a harmony of tensions . Elaine taught all us mommies prenatal yoga at Kaiser SF. Vrinda and Sonya are some of the mommies who've kept in touch, and our kids are the "yoga babies". The photographs in the book will be helpful for my students as they make poses with homage to animals, trees, mountains and the ocean. It shows how "patterns in nature align our poses and everyday posture". It's a pretty amazing and thorough concept and book. And of course the cutest model is in the chapter on faces.

My kid has been teaching me poses: I've learned starfish, lily pad, butterfly and airplane from her just this week. My little helper also helped me make the Calming Jars http://saltydogyogasurf.wordpress.com/category/kids-yoga-arts-crafts/ I may try them in the classroom (should transfer from glass to plastic containers). They could be good for very energetic kids and moments. I like the concept of how the calming jar can show the kids how to slow down and quiet their mind.                                              Namaste!

More East Indian art resources at http://www.pinterest.com/noonsteph/east-indian-art/ 


Wednesday, May 23, 2012

Week 7- Wet 'N Wild

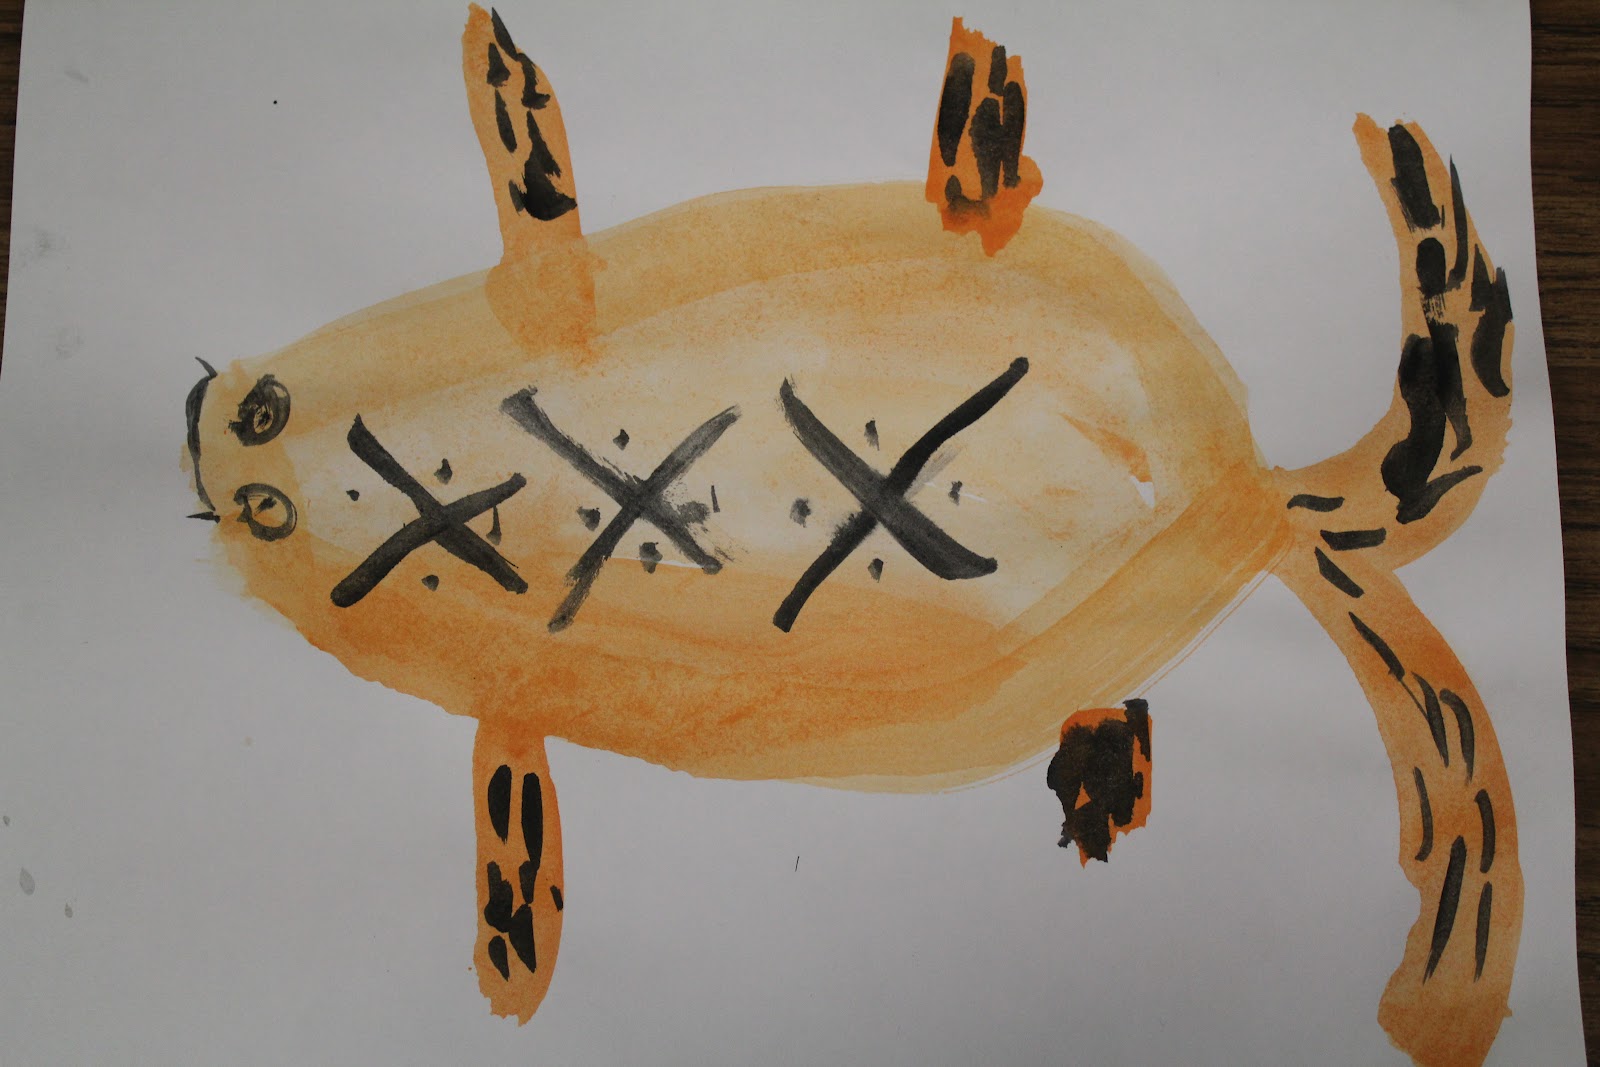
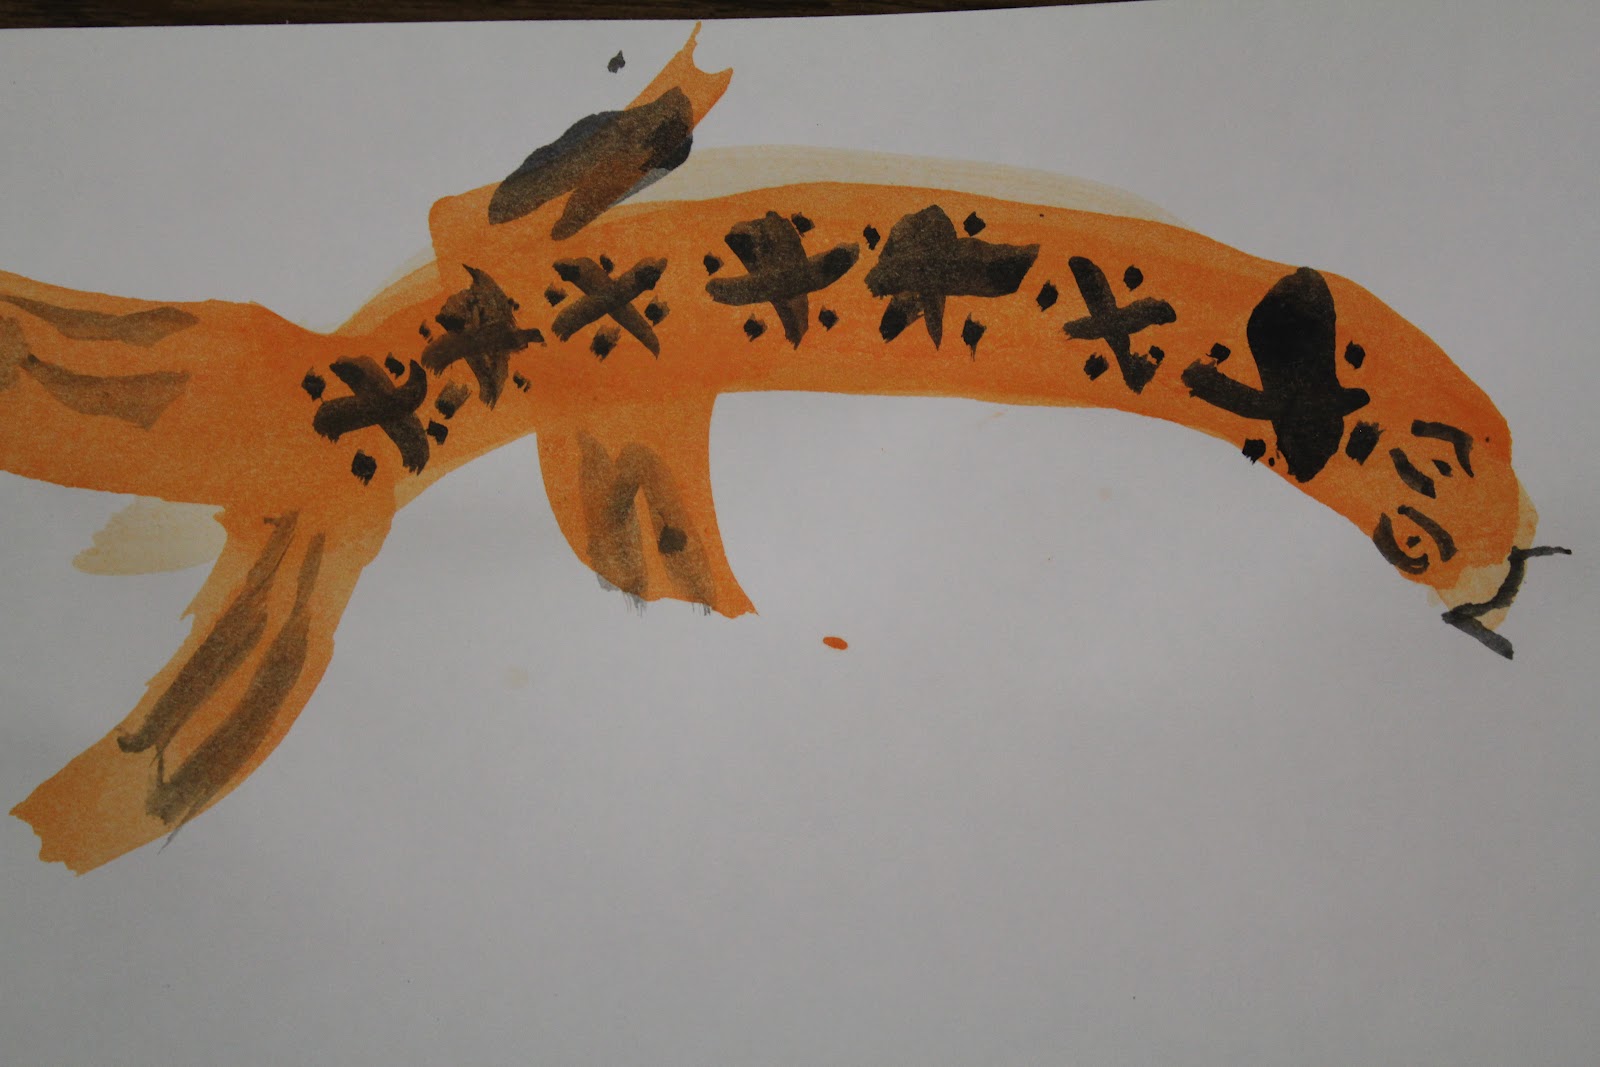
Koinoibori (Japanese Carp Kites)
*materials: paper, markers or crayons, stapler, crepe paper, yarn, scissors
Activity: see lesson plan link and Carp Kite lesson plan
Background: Families in Japan display Koinobori (carp kites) on May 5, Children's Day, a national holiday represents strength and health in children (Japanese carp/koi are very hearty fish, who can swim upstream). The sizes and colors of the koi symbolize the members, age and gender of the family members. View the well known song about the Koinoibori on Youtube, (the last 20 seconds is an ad for learning Japanese). Thanks to Heidi Y. for the great resources!


Koi painting by Stephanie


Above paintings by Kindergartners: Jack (top left), Sasha (top right), Scott (middle),
Lucas R. (bottom left), Ian (bottom right)

Japanese Koi watercolor paintings
*watercolor paints or tempera cakes, 3/4" big brushes & #3 tiny brushes, water jars, water, paper, (optional: crayons, should you choose to draw first and not teach "true" Chinese Brush Painting)
For this lesson, you introduce Chinese Brush Painting. This is an ancient method of painting based on yin and yang principals (everything in balance and harmony~ even the black ink against white paper). This style of painting takes years to master but can be very zen-like. There is no drawing before a painting is begun. Basic brush strokes are practiced first. If you want a thick brush stroke, you press down heavy on the brush. To make the brush stroke thinner, you only let the tip of the brush touch the paper. Teach students how to hold the brush (either in the center of brush handle or near the "ferrule"/part just above bristles for more detailed brushstrokes). Encourage good posture while sitting or even standing. Fluid motions are necessary along with practice, practice, practice. It helps to start on newsprint which seems less precious than white paper. Try thin, thick, vertical, horizontal, straight, curvy, long and short lines. Add more water to lighten colors and less water to darken. After practicing brush strokes, introduce the koi painting.

Show students the process step by step (body and fins first, save texture and details in face until later when paint dries a bit). Do not draw first. Plan ahead and think before you make a brushstroke. The kindergartners painted the body with 3 curved brushstrokes (tail to head). For each stroke they added a little water to their brush to make each stroke a little lighter than the last. The fins were painted just by making flicks. The tail can be 2 big brush strokes or many curvy strokes to show motion and the fan-like look. Finally add details with black and use a tiny #3 brush. You may have to dry the body of the fish a bit with a paper towel so the black doesn't bleed into the orange. Paint eyes (not in one motion but a few curved lines), whiskers, mouth, X's and dots to show texture on the body, and lines in the fins to show texture.

Tip: to get a multi-colored brushstroke you can put one color on the brush (example=orange) and then dip the tip in another color (like black in the top painting).

Another option is to have the kids draw the fish first in pencil and then outline in crayon. A beautiful painting can still be achieved although this does not teach the principals of Chinese Brush Painting.


Note: we used the Prang Tempera cakes and 3/4" big brush & #3 tiny brush for the Koi painting.
I love these paints and they last forever (think years).


Spray Bottles
see week 1, Mad Scientist Week


Monday, May 21, 2012

Week 5- Heroes


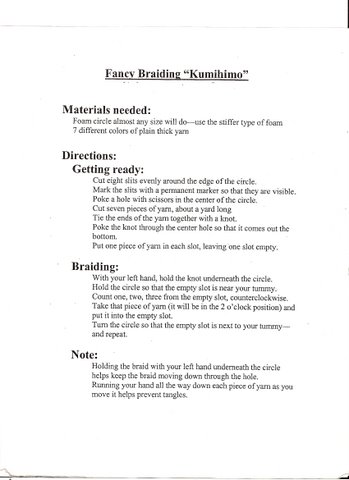
Red, white, & blue Japanese braided bracelet
*6" cardboard cake circles (I ordered online at webstaurantstore.com), prep circles with 8- 1/2" cuts all the way around edge of circle (older kids can do this) and poke a hole in center with scissors (careful!), red, white & blue yarn (kids measure 2 arms lengths and need 7 pieces cut), pencils to label cake circle and help poke yarn through the hole (note- you'll need to prep this for younger kids but older kids can put yarn  on the loom themselves with guidance)
See lesson plan below:


Red, White & Blue Tree Whisperer paper tree
*various papers and tools to decorate, draw and write poetry, string, hole punch
http://treewhispers.com/
Take a moment to view this website and I promise you will be very inspired!


Paper beaded necklaces
*paper (old magazines, junk mail), rulers, pencils to draw, scissors, glue, straw/shishkabob stick/old pencil to roll bead onto, thin yarn, pony beads- optional
note: this project falls under "heroes" section because the people involved in the various projects help make life better for others around the world. These groups are Beadforlife.org, metowe.com (see keynote Spencer West who visits Bay Area and "Mamas necklaces")
     See bead information from Ugandan paper bead rolling

Week 4- Gold Rush


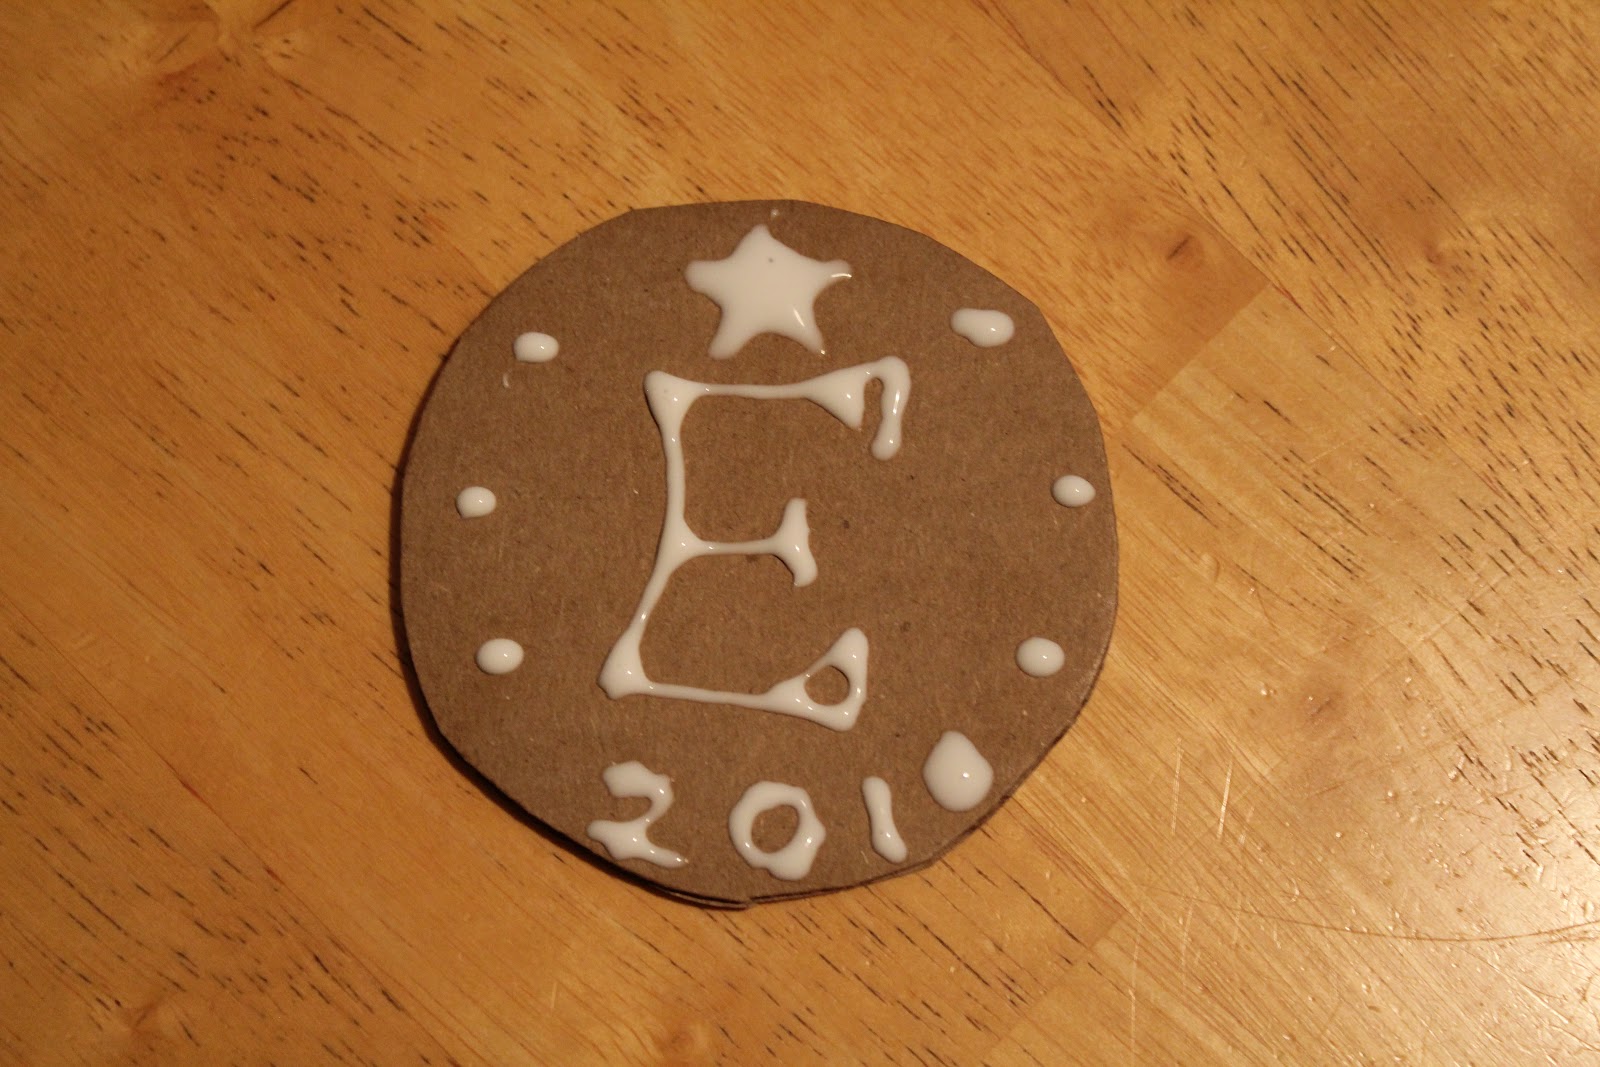
Gold Coin
*cardboard  circles (pre cut for younger kids), glue and/or string, tempera or acrylic gold paint, optional: gold glitter
Each kid designs their coin with glue or with string glued onto cardboard. The next day, after the glue dries, the kids paint the coins gold. Note that acrylic paint can stain :( but dries quickly :) so you could actually paint both sides in one session with the acrylic paint.


Clay coins or Shrinky Dink Coins
*Crayola air dry clay, clay mats, little dishes of water, shishkabob sticks, gold tempera paint

If the clay gargoyles went well, you could make gold coins out of clay instead of cardboard. Or buy some gold permanent markers and create some gold shrinky dink art. Always a camp favorite!

Note: See cutting tips above. I like to use a metal wire cutter. Cut Crayola brand into 2 discs. Then use 1/16 of one of the discs. That will yield 32 pieces of clay from each container (for the gold coin project that is). I only used a stick (like a shishkabob stick) to carve. Carving is not the easiest if you like your designs neat. You have to go slowly. You can also look at Week 8's clay project (clay medal) for more ideas in working in relief. Let the clay dry for a day or two and then paint. Don't forget to mark each kid's name on the back of the project.

Incan Gold Mask
*tagboard or old cereal boxes (the grey side), yarn, scissors, glue, gold paint
Each child cuts the shape of his mask (teacher can provide templates). Then yarn is cut and glued into place to show the facial features. The next day, after the glue dries, the mask can be painted gold. Note: if you have money in your budget, you could try metal tooling. Check out these beautiful Incan-inspired masks on The Princetonol Website


Pet Gold Nugget
*materials: rocks, gold glitter, glue, other craft supplies such as googly eyes, pipe cleaners, glue, etc. (use up leftover materials from sock puppet)


Poke Pocket
(definition: a small bag, little pouch, that a miner carries gold nuggets & dust in)
younger kids: paper, hole punches, yarn
older kids: felt, needles, embroidery floss, yarn
See 2011 Wild West Week lessons ~ Sewn Satchel (note: I believe the kids did this at camp last year and really enjoyed it)