Process not product. You’ve heard it a million times and we
all know the importance of it. A meaningful art experience develops character
and reaches the soul. It’s a bonus that it makes us smile when we look at it on
our walls. I developed a rich series of
art projects in my K-5 art room that focuses on process, uses tactile materials
(behold- your most energetic kids calm down), and incorporates nature studies
(our theme this year in art class). I’d like to share this with you. Please view the photographs of the works
since the pictures speak volumes about the unconventional processes and
creativity that was unleashed in the art room. I hope your kids get to
experience this soon!

 Day 1: Working with Rocks.
 The kids learned about Stonehenge
and Andy Goldsworthy (art/artists who use rocks!) via the SMARTboard. Look up Andy Goldsworthy if you
don’t know his art, it is pretty inspiring. You can view clips of his video
on YouTube and see his work in person outside the De Young Museum in San
Francisco (see cracks in sidewalk, reminding us of our ever changing tectonic
plates). Here’s the plan- students each borrow a tub of rocks which they need
to sort by color, size, shape or texture. They then arrange the rocks a la Andy
Goldsworthy.* The kids got so creative with this~ they made the rocks spiral out
in descending sizes, stacked them or created animals out of the rocks.
Photographs were taken so we could document our work. Bonus to teachers/parents-
no messy clean up!
Follow up to Rocks & Andy Goldsworthy: Arranging
leaves. Go outside when those autumn
leaves start falling. Look at the beautiful creations the kindergartners made. Try sticks, shells, rocks and any other natural treasures that you find.*


Day 2: Exploring with Sand. When the kids walk into
the art room there is colored sand on trays for everyone to work with. Their
only instructions are to explore the material and keep the sand on the tray.
Kids draw and write in the sand and really seemed to enjoy the process. After
10-15 minutes I bring the group together and we reflect on the material and how
it felt (both the texture and the calming nature of it). Then I show them
images from Japanese Rock Gardens. These Zen Gardens use no water; instead the
raked sand represents water, waves in the ocean, ripples in a pond, etc. The
rocks represent mountains, islands, etc. The moss represents trees, forests,
etc. We view many gardens including the Japanese Tea Garden in Golden Gate Park.
The kids then receive their own tub of rocks and a fork and are instructed to
build their rock garden on their tray of sand*. Upon reflection, we usually find
that this process felt very calming and satisfying.


Day 3: Working with Clay. Our clay lesson is a good
follow up to the rock and sand lessons since the clay is also a tactile material from nature. I take time with my little guys to discuss
that clay is broken down rocks, mixed with water, and can be found under the
soil and at the banks of rivers and lakes. We have different colored clays
because there are different colored rocks. We use low-fire white clay but if
you don’t have a kiln try homemade salt dough, Crayola Model Magic, air dry clays, or
polymer clay (Fimo, Sculpey). Here is my ideal clay experience:
Day 1: Explore the clay. Let the kids smoosh it, roll it, and
pound it. Ahhhhhh! Clay!
Day 2: Practice with homemade playdough~ handbuilding
pottery techniques (pinch pots, coil pots, slab pots) or Sculpture work.
Day 3: Every child creates their clay project that they practiced
in playdoh. Pots, animals, architecture, beads, frames, gargoyles, food~ you
name it, we’ve made it out of clay! What a lovely experience that is challenging,
3-dimensional and real. It’s like the Thanksgiving of art and then it’s all
over…
Until Day 4 & 5: Glaze them puppies. Underglaze,
overglaze (kiln required), watercolor and acrylic paint (no kiln required). Voila,
let the forms come to life with color!
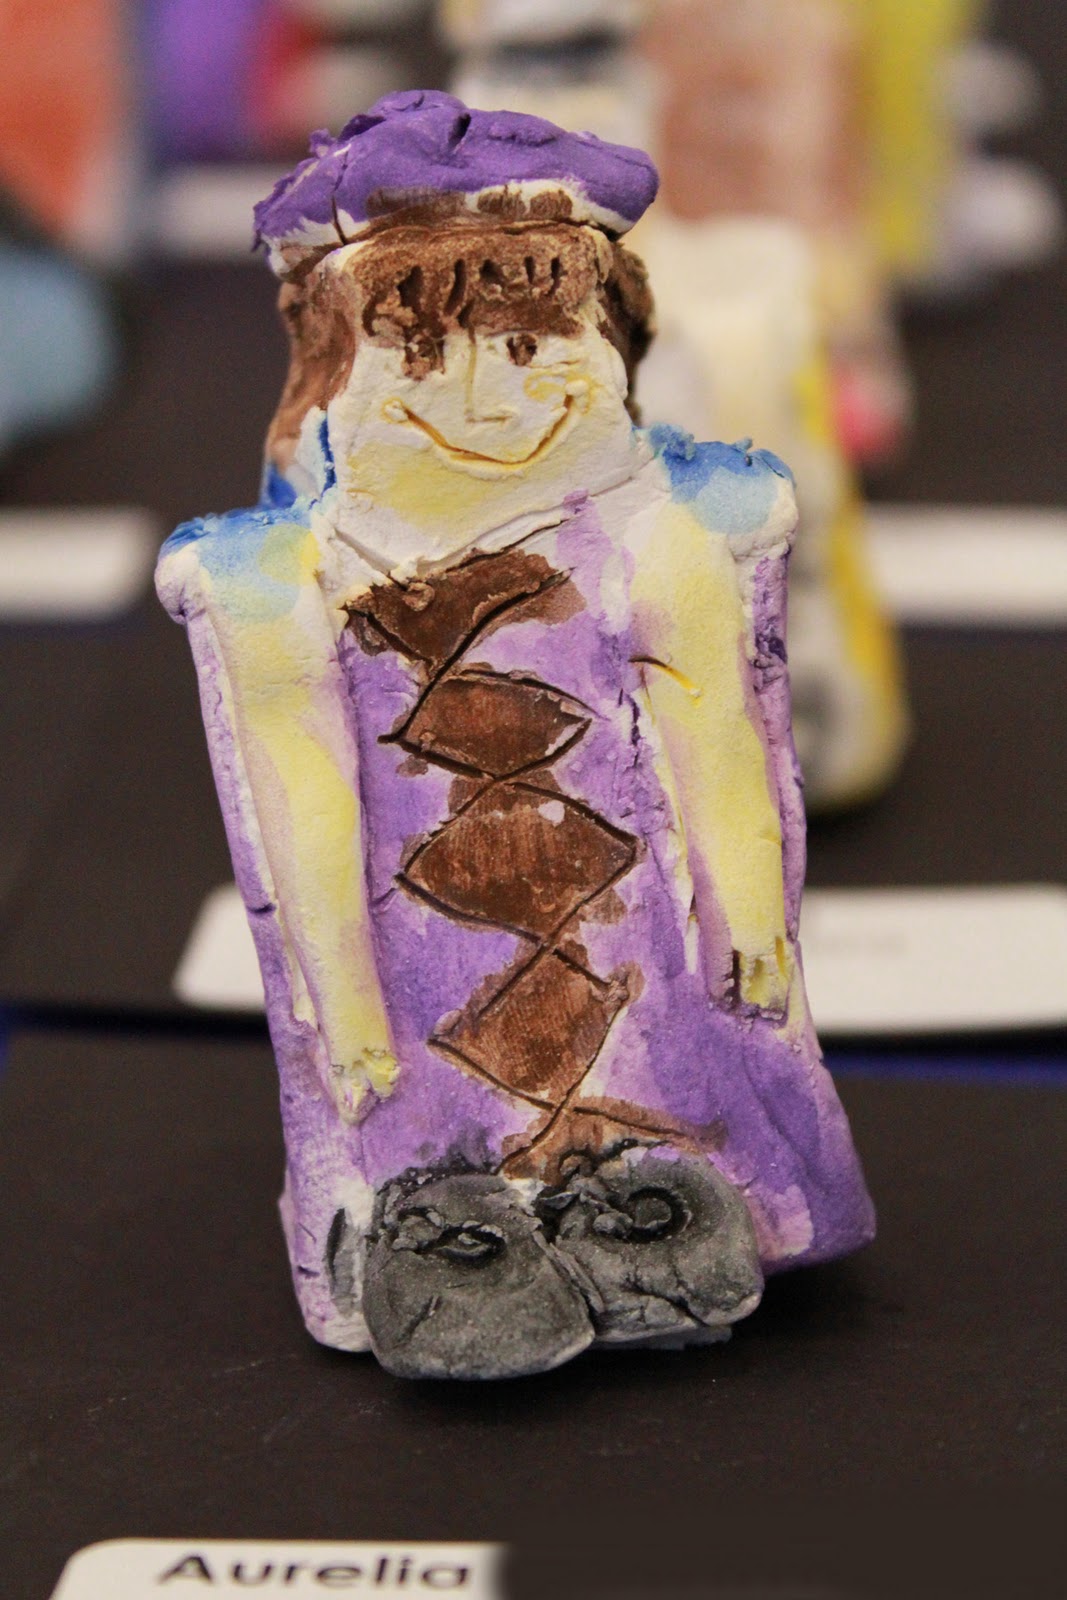
----> Note: pictured here are 3rd coil pots, 4th architectural relief, K pinch pots, 5th food, 2nd terracotta warriors, 1st grade Louise Nevelson relief*
In conclusion: These tactile materials are really great for the middle of a
busy school or rainy day. I see the kids slow down, focus and really get to
know materials from nature. They learn that not all artists paint nor frame
their art. Art can be created in nature and out of nature; it can be ephemeral
and dynamic. Art can be a process that
soothes and allows you to look inward while expressing yourself to others. I
hope you get a chance to work with some of these wonderful materials from
nature. Your children will LOVE it and beg to do it again and again!
~Stephanie Noon
*credit given to
Explorations in Art, Davis (Rock lesson), Barbara C. (Leaf lesson), Nature's Art Box (Rock Garden), Anna H. (Louise Nevelson clay), Stuckey (bringing me Terracotta Warriors from China)
.JPG)


.JPG)
.JPG)
.JPG)
.JPG)
.JPG)
.JPG)