Wednesday, May 23, 2012

Week 7- Wet 'N Wild

Koinoibori (Japanese Carp Kites)
*materials: paper, markers or crayons, stapler, crepe paper, yarn, scissors
Activity: see lesson plan link and Carp Kite lesson plan
Background: Families in Japan display Koinobori (carp kites) on May 5, Children's Day, a national holiday represents strength and health in children (Japanese carp/koi are very hearty fish, who can swim upstream). The sizes and colors of the koi symbolize the members, age and gender of the family members. View the well known song about the Koinoibori on Youtube, (the last 20 seconds is an ad for learning Japanese). Thanks to Heidi Y. for the great resources!



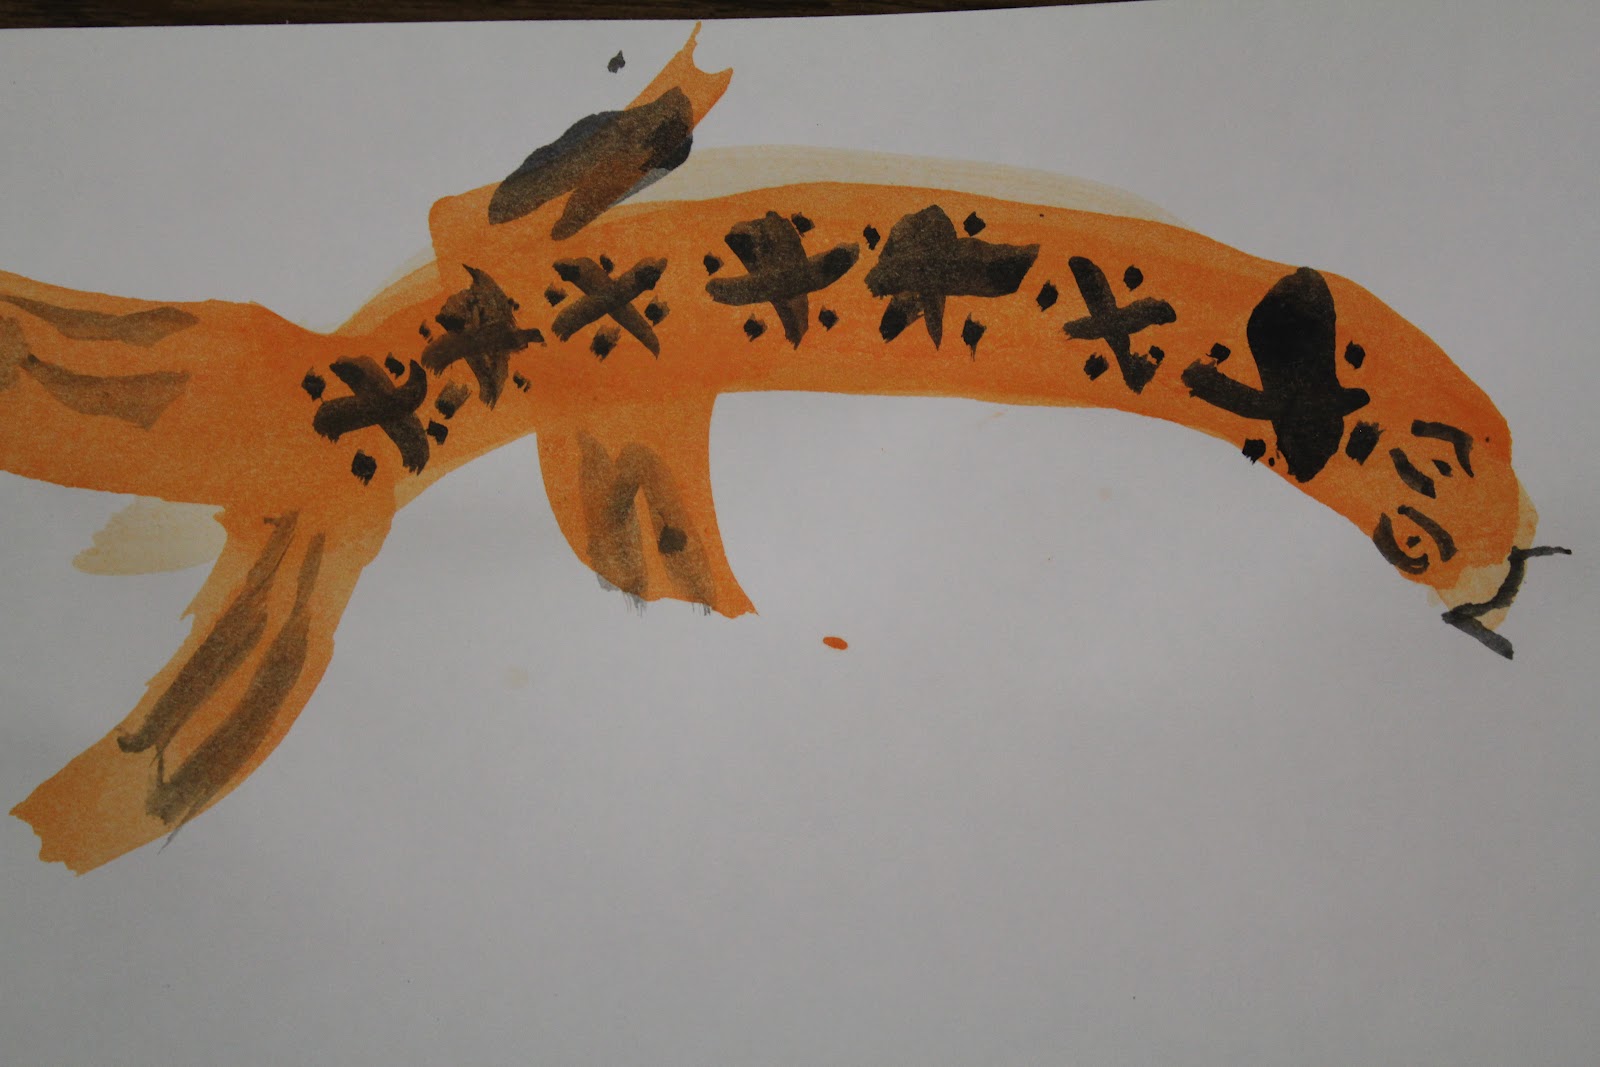
Koi painting by Stephanie
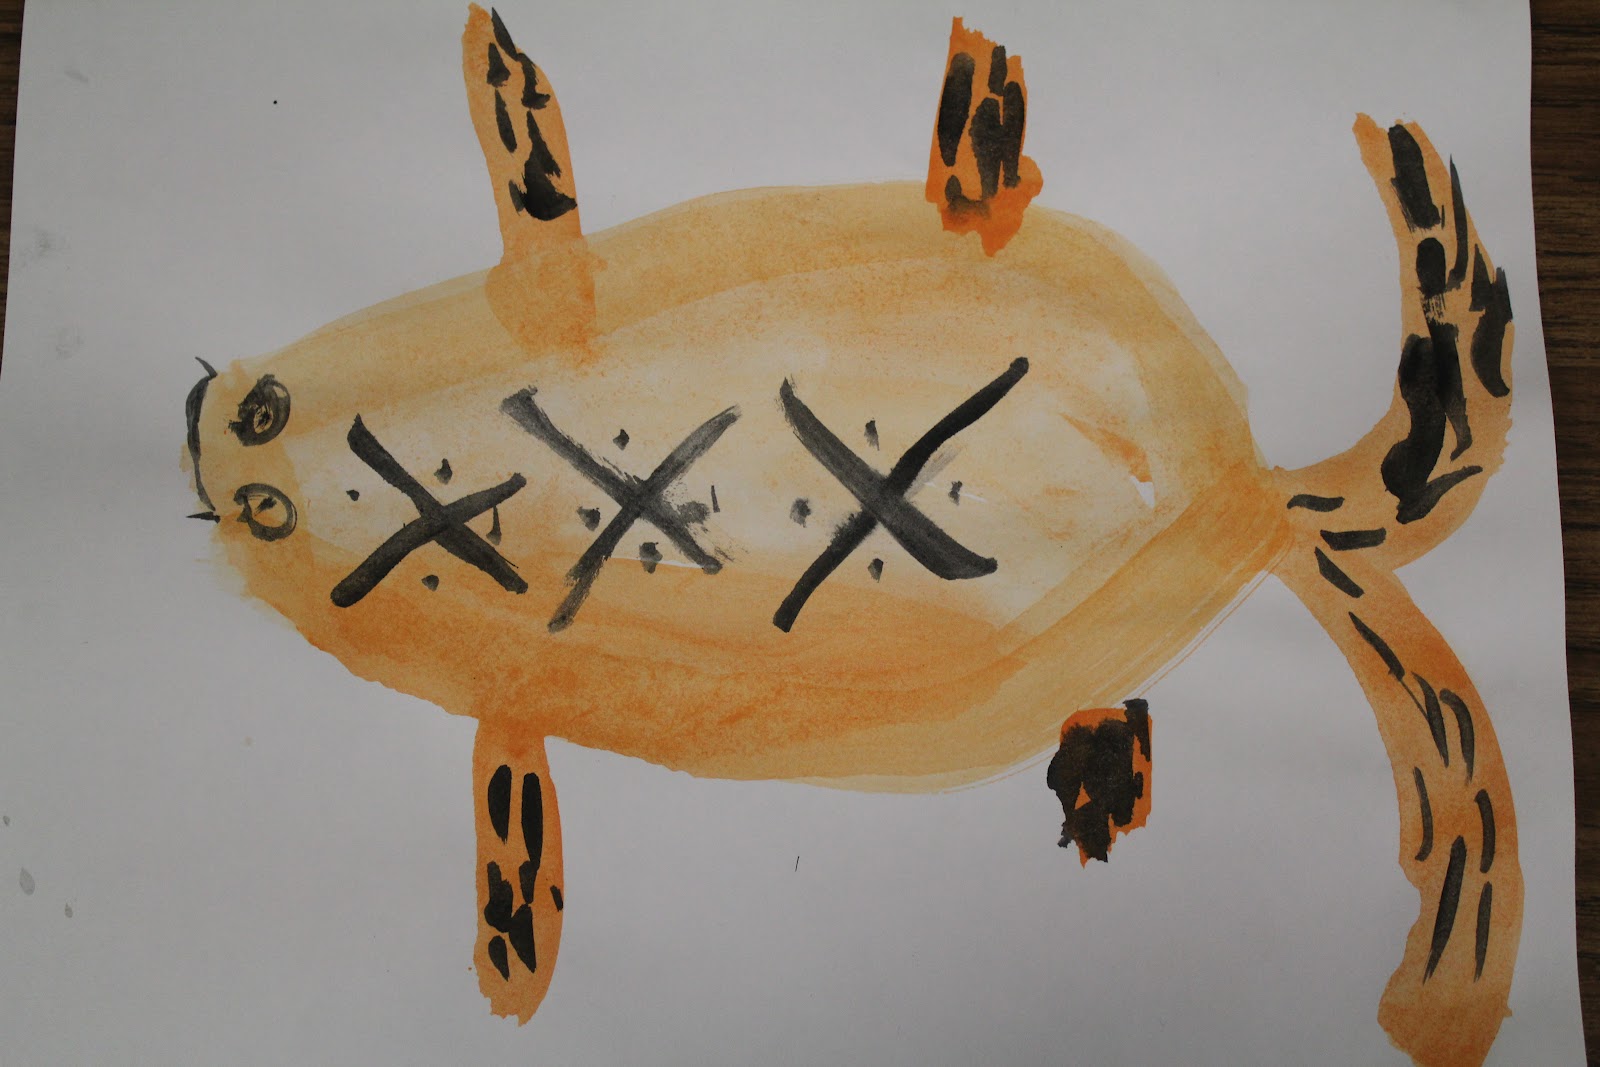


Above paintings by Kindergartners: Jack (top left), Sasha (top right), Scott (middle),
Lucas R. (bottom left), Ian (bottom right)

Japanese Koi watercolor paintings
*watercolor paints or tempera cakes, 3/4" big brushes & #3 tiny brushes, water jars, water, paper, (optional: crayons, should you choose to draw first and not teach "true" Chinese Brush Painting)
For this lesson, you introduce Chinese Brush Painting. This is an ancient method of painting based on yin and yang principals (everything in balance and harmony~ even the black ink against white paper). This style of painting takes years to master but can be very zen-like. There is no drawing before a painting is begun. Basic brush strokes are practiced first. If you want a thick brush stroke, you press down heavy on the brush. To make the brush stroke thinner, you only let the tip of the brush touch the paper. Teach students how to hold the brush (either in the center of brush handle or near the "ferrule"/part just above bristles for more detailed brushstrokes). Encourage good posture while sitting or even standing. Fluid motions are necessary along with practice, practice, practice. It helps to start on newsprint which seems less precious than white paper. Try thin, thick, vertical, horizontal, straight, curvy, long and short lines. Add more water to lighten colors and less water to darken. After practicing brush strokes, introduce the koi painting.

Show students the process step by step (body and fins first, save texture and details in face until later when paint dries a bit). Do not draw first. Plan ahead and think before you make a brushstroke. The kindergartners painted the body with 3 curved brushstrokes (tail to head). For each stroke they added a little water to their brush to make each stroke a little lighter than the last. The fins were painted just by making flicks. The tail can be 2 big brush strokes or many curvy strokes to show motion and the fan-like look. Finally add details with black and use a tiny #3 brush. You may have to dry the body of the fish a bit with a paper towel so the black doesn't bleed into the orange. Paint eyes (not in one motion but a few curved lines), whiskers, mouth, X's and dots to show texture on the body, and lines in the fins to show texture.

Tip: to get a multi-colored brushstroke you can put one color on the brush (example=orange) and then dip the tip in another color (like black in the top painting).

Another option is to have the kids draw the fish first in pencil and then outline in crayon. A beautiful painting can still be achieved although this does not teach the principals of Chinese Brush Painting.


Note: we used the Prang Tempera cakes and 3/4" big brush & #3 tiny brush for the Koi painting.
I love these paints and they last forever (think years).


Spray Bottles
see week 1, Mad Scientist Week


Week 6 Abracadabra!


Spin Art
*Salad spinner (I used the OXO small herb spinner), 4"x4" white thick drawing or construction paper, tempera paints, space to dry art flat
**If you want to sponge paint after, have some sponges and extra on hand
Place paper inside salad spinner and put a few drops of paint onto paper. I was surprised at how much paint you need. Close top and spin away. Open top of spinner and voila, your beautiful spin art is complete and just needs to dry. These are beautiful on their own or could be used for many craft activities (I think they would make great notecards). See idea below for excess paint (which you'll have a fair amount of and seems like a waste to send down the sink).


After removing "drain basket", there will be lots of paint remaining on the sides of the bowl. This can be a great opportunity to sponge paint. I used sponges on a stick but any sponge would work. There's beautiful colors hiding and that rich brown. This could be lovely abstract or non-objective art or turn the painting into something. The curved line could become a roller coaster, one might turn into a dinosaur after drawing on top of dried paint. The circles could become cupcakes with some glitter and jewels. Let your imagination run wild!


Shrinky Dinks
See past Camp lessons 2011 on this blog.


Oobleck (repeat from Week 1)
*Cornstarch, water, food coloring, paper/plastic bowls (1 per child), little paper cups/ziploc bags to take home mixture if desired
Arts & Crafts? Maybe not. Fun and mad science? Definitely! See more info at Sciencebob.com
(note- blue food dye stains for a day or so, other colors did not)


Spray bottles and/or Watercolor Resist
see week 1 lessons, Mad Scientist Week

Monday, May 21, 2012

Week 5- Heroes


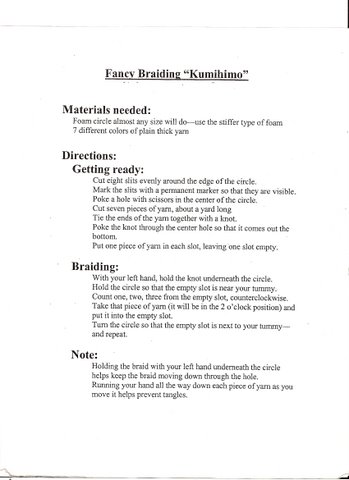
Red, white, & blue Japanese braided bracelet
*6" cardboard cake circles (I ordered online at webstaurantstore.com), prep circles with 8- 1/2" cuts all the way around edge of circle (older kids can do this) and poke a hole in center with scissors (careful!), red, white & blue yarn (kids measure 2 arms lengths and need 7 pieces cut), pencils to label cake circle and help poke yarn through the hole (note- you'll need to prep this for younger kids but older kids can put yarn  on the loom themselves with guidance)
See lesson plan below:


Red, White & Blue Tree Whisperer paper tree
*various papers and tools to decorate, draw and write poetry, string, hole punch
http://treewhispers.com/
Take a moment to view this website and I promise you will be very inspired!


Paper beaded necklaces
*paper (old magazines, junk mail), rulers, pencils to draw, scissors, glue, straw/shishkabob stick/old pencil to roll bead onto, thin yarn, pony beads- optional
note: this project falls under "heroes" section because the people involved in the various projects help make life better for others around the world. These groups are Beadforlife.org, metowe.com (see keynote Spencer West who visits Bay Area and "Mamas necklaces")
     See bead information from Ugandan paper bead rolling

Week 4- Gold Rush


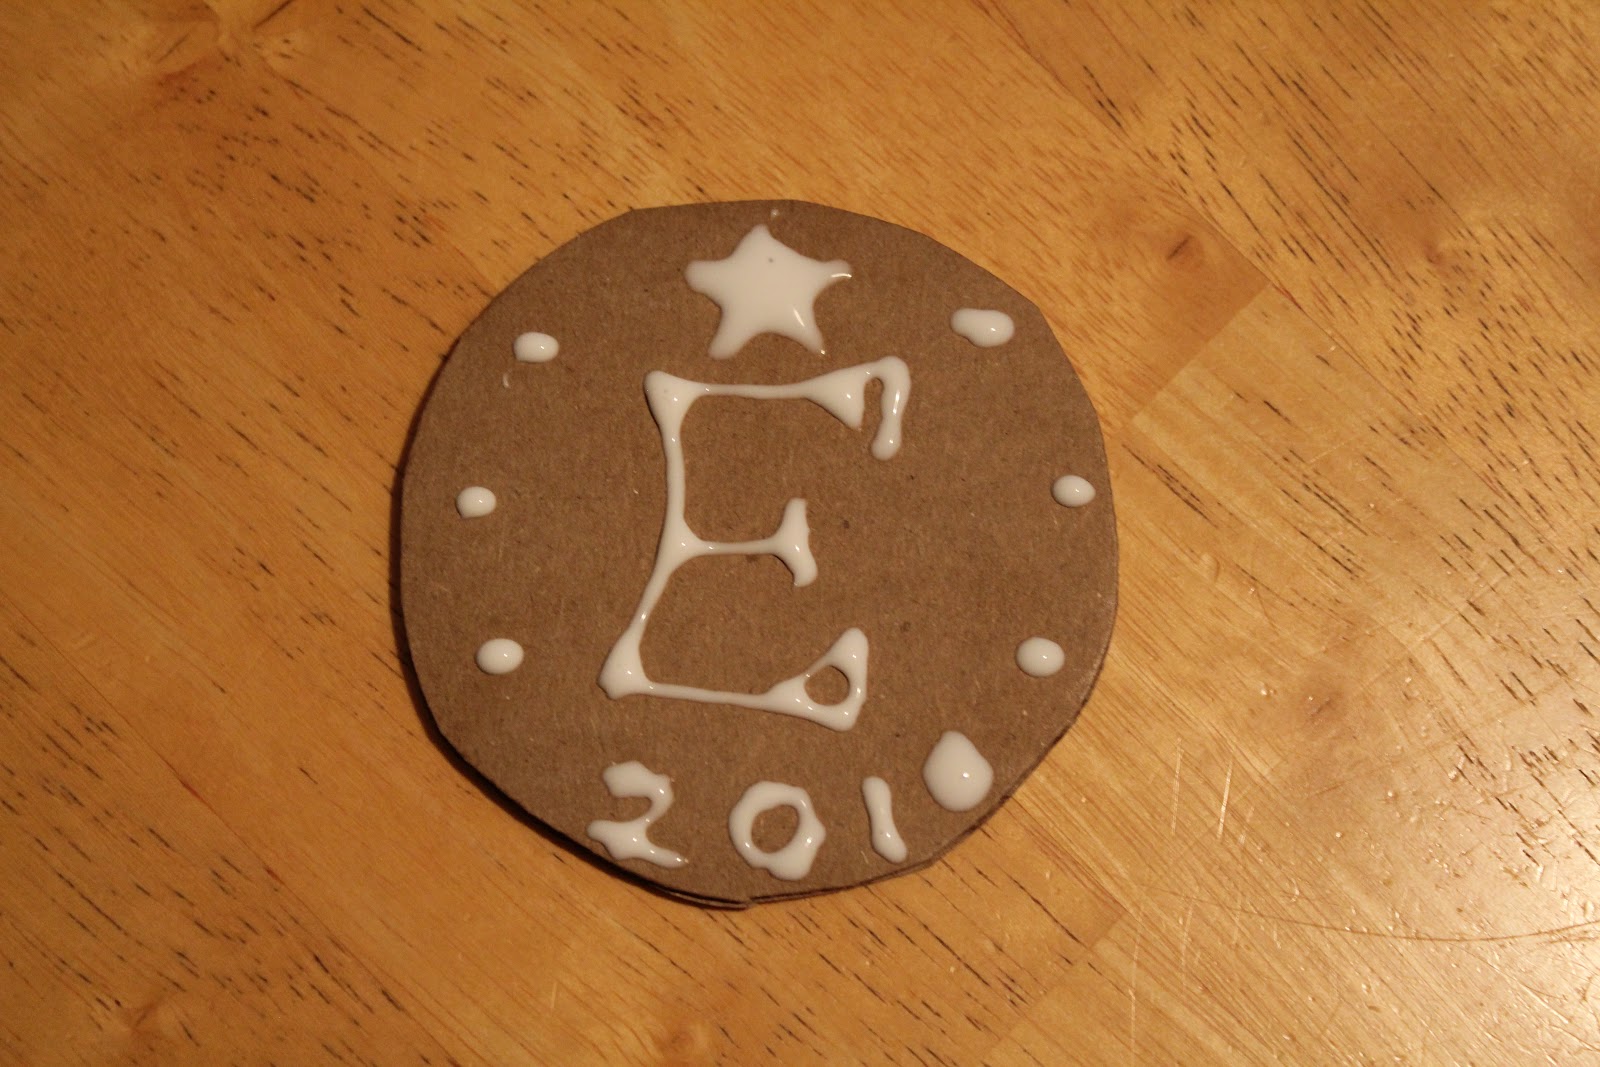
Gold Coin
*cardboard  circles (pre cut for younger kids), glue and/or string, tempera or acrylic gold paint, optional: gold glitter
Each kid designs their coin with glue or with string glued onto cardboard. The next day, after the glue dries, the kids paint the coins gold. Note that acrylic paint can stain :( but dries quickly :) so you could actually paint both sides in one session with the acrylic paint.


Clay coins or Shrinky Dink Coins
*Crayola air dry clay, clay mats, little dishes of water, shishkabob sticks, gold tempera paint

If the clay gargoyles went well, you could make gold coins out of clay instead of cardboard. Or buy some gold permanent markers and create some gold shrinky dink art. Always a camp favorite!

Note: See cutting tips above. I like to use a metal wire cutter. Cut Crayola brand into 2 discs. Then use 1/16 of one of the discs. That will yield 32 pieces of clay from each container (for the gold coin project that is). I only used a stick (like a shishkabob stick) to carve. Carving is not the easiest if you like your designs neat. You have to go slowly. You can also look at Week 8's clay project (clay medal) for more ideas in working in relief. Let the clay dry for a day or two and then paint. Don't forget to mark each kid's name on the back of the project.

Incan Gold Mask
*tagboard or old cereal boxes (the grey side), yarn, scissors, glue, gold paint
Each child cuts the shape of his mask (teacher can provide templates). Then yarn is cut and glued into place to show the facial features. The next day, after the glue dries, the mask can be painted gold. Note: if you have money in your budget, you could try metal tooling. Check out these beautiful Incan-inspired masks on The Princetonol Website


Pet Gold Nugget
*materials: rocks, gold glitter, glue, other craft supplies such as googly eyes, pipe cleaners, glue, etc. (use up leftover materials from sock puppet)


Poke Pocket
(definition: a small bag, little pouch, that a miner carries gold nuggets & dust in)
younger kids: paper, hole punches, yarn
older kids: felt, needles, embroidery floss, yarn
See 2011 Wild West Week lessons ~ Sewn Satchel (note: I believe the kids did this at camp last year and really enjoyed it)