Monday, November 7, 2011

Ugandan Art Ideas


Soap Carved Mask:
Just finished my first ever soap carving- how did I escape childhood without doing this? This is a possible craft for our school's Cultural Arts Day on Uganda in 2012. With 30-45 minutes, the kids may need to finish at home if they are perfectionists like their art teacher.
*Tools: plastic knife, chopstick, toothpick and popsicle sticks.
Remember to look at all sides while carving. Be prepared- soap dust everywhere! At the end, kids will need to wash hands with water only.

2D African Mask:
The 4th & 5th graders are drawing African masks with oil pastel & pastel right now in art class (see above sample and directions below). We will watch a video of a mask dance/rite from Western Africa http://www.sorosoro.org/en/the-mukuji-rite-with-the-punu-from-gabon


**ADDENDUM ON MASKS: we learned during our African studies that masks are more Western African than Eastern. Thank you to Francis, Ed, Elizabeth and company for all your great work on Cultural Arts Day!

Batik with spray bottle:  Another idea for a craft rotation.
*Tools: white crayon or candle, paper, diluted paint in spray bottle (I used tempera), paper towels
Kids draw designs, adult teaches proper "spray bottle techniques" (quick, open & close motion~ not slow and incomplete pull). Each kid gets up to 4 sprays, then wipes off extra "dye" with a paper towel. A new, double-folded school paper towel is placed around batik like a folder to get home safely.
Beaded Necklaces:  
Tools: recycled glossy mailings (campaign mailings, Bed Bath & Beyond Coupons, etc), scissors, glue, old pencils, string, pony beads
Kids will make necklaces in art class before CAD, to be worn the day of.
http://www.beadforlife.org/video/4DVDRoll.html


Friday, October 28, 2011

Clay Tips Unveiled


We just finished a successful week of clay lessons. I do clay for a school of 750+ kids in one week. It is a fast-paced, productive and exhausting week. Thank goodness for my "clay angels" (a.k.a. parent volunteers). I'm sharing my top tips with all of you:
1) practice with playdoh the week before (see previous post for recipe for homemade playdoh) or at the very least, draw your ideas.
2) get help with cutting the clay! I now have a scale out. Most grade levels get 1/2 pound of clay per child. Although I can eyeball the clay, I find the scale helpful to people who don't work with it much so they can calibrate their cuts.
3) Label materials. See photo. This helps volunteers and kids with clean up.
4) Label projects. I now have teachers write absent kids' names or "all present" on a post-it note and stick it to the clay box. Soon I'll make a spreadsheet of kids who were absent for the clay day and the glazing day so I can catch those kids sometime before our spring art show. My goal is to have everyone in the school complete the clay lesson
5) Post directions for parent volunteers. I get specific with these directions such as "write name only on the bottom of clay" (otherwise names creep up the sides of pinch pots and names get painted over later).

Yes, this is art class- it should be creative and fun. However this is the one lesson we can't finish the next week (not gracefully anyways). All kids and volunteers know the expectations. When the bell rings, they need to "make it work". I think we're all really proud of ourselves by the end of the lesson.

Thursday, October 27, 2011

Play Dough!

Who doesn't love play dough? The homemade kind is so much better than store bought. We just finished using it in art class as a preparation for our clay project (gives the kids a chance to plan their project) and I used it at a baby shower I threw (we played sculpturades which is like pictionary but 3D rather than 2D). This play dough is not edible (I've heard the salt levels can be toxic). Here's the recipe I use:


1 cup flour
1 tablespoon vegetable oil
1 cup water
½ cup salt
2 teaspoons cream of tartar
Food coloring

Combine all ingredients in a large saucepan. Use a wooden spoon to stir over medium heat until ball forms. Turn the hot ball out onto a counter or cutting board and begin kneading as it cools.

Yields 4-6 small balls

Tuesday, September 20, 2011

The Happiest Artist on the Block: Working with Rocks, Sand, Leaves & Clay


Process not product. You’ve heard it a million times and we all know the importance of it. A meaningful art experience develops character and reaches the soul. It’s a bonus that it makes us smile when we look at it on our walls.  I developed a rich series of art projects in my K-5 art room that focuses on process, uses tactile materials (behold- your most energetic kids calm down), and incorporates nature studies (our theme this year in art class). I’d like to share this with you.  Please view the photographs of the works since the pictures speak volumes about the unconventional processes and creativity that was unleashed in the art room. I hope your kids get to experience this soon!


Day 1: Working with Rocks. The kids learned about Stonehenge and Andy Goldsworthy (art/artists who use rocks!) via the  SMARTboard. Look up Andy Goldsworthy if you don’t know his art, it is pretty inspiring. You can view clips of his video on YouTube and see his work in person outside the De Young Museum in San Francisco (see cracks in sidewalk, reminding us of our ever changing tectonic plates). Here’s the plan- students each borrow a tub of rocks which they need to sort by color, size, shape or texture. They then arrange the rocks a la Andy Goldsworthy.* The kids got so creative with this~ they made the rocks spiral out in descending sizes, stacked them or created animals out of the rocks. Photographs were taken so we could document our work. Bonus to teachers/parents- no messy clean up!


Follow up to Rocks & Andy Goldsworthy: Arranging leaves.  Go outside when those autumn leaves start falling. Look at the beautiful creations the kindergartners made. Try sticks, shells, rocks and any other natural treasures that you find.*


Day 2: Exploring with Sand. When the kids walk into the art room there is colored sand on trays for everyone to work with. Their only instructions are to explore the material and keep the sand on the tray. Kids draw and write in the sand and really seemed to enjoy the process. After 10-15 minutes I bring the group together and we reflect on the material and how it felt (both the texture and the calming nature of it). Then I show them images from Japanese Rock Gardens. These Zen Gardens use no water; instead the raked sand represents water, waves in the ocean, ripples in a pond, etc. The rocks represent mountains, islands, etc. The moss represents trees, forests, etc. We view many gardens including the Japanese Tea Garden in Golden Gate Park. The kids then receive their own tub of rocks and a fork and are instructed to build their rock garden on their tray of sand*. Upon reflection, we usually find that this process felt very calming and satisfying.


Day 3: Working with Clay. Our clay lesson is a good follow up to the rock and sand lessons since the clay is also a tactile material from nature. I take time with my little guys to discuss that clay is broken down rocks, mixed with water, and can be found under the soil and at the banks of rivers and lakes. We have different colored clays because there are different colored rocks. We use low-fire white clay but if you don’t have a kiln try homemade salt dough, Crayola Model Magic, air dry clays, or polymer clay (Fimo, Sculpey). Here is my ideal clay experience:
Day 1: Explore the clay. Let the kids smoosh it, roll it, and pound it. Ahhhhhh! Clay!
Day 2: Practice with homemade playdough~ handbuilding pottery techniques (pinch pots, coil pots, slab pots) or Sculpture work.
Day 3: Every child creates their clay project that they practiced in playdoh. Pots, animals, architecture, beads, frames, gargoyles, food~ you name it, we’ve made it out of clay! What a lovely experience that is challenging, 3-dimensional and real. It’s like the Thanksgiving of art and then it’s all over…
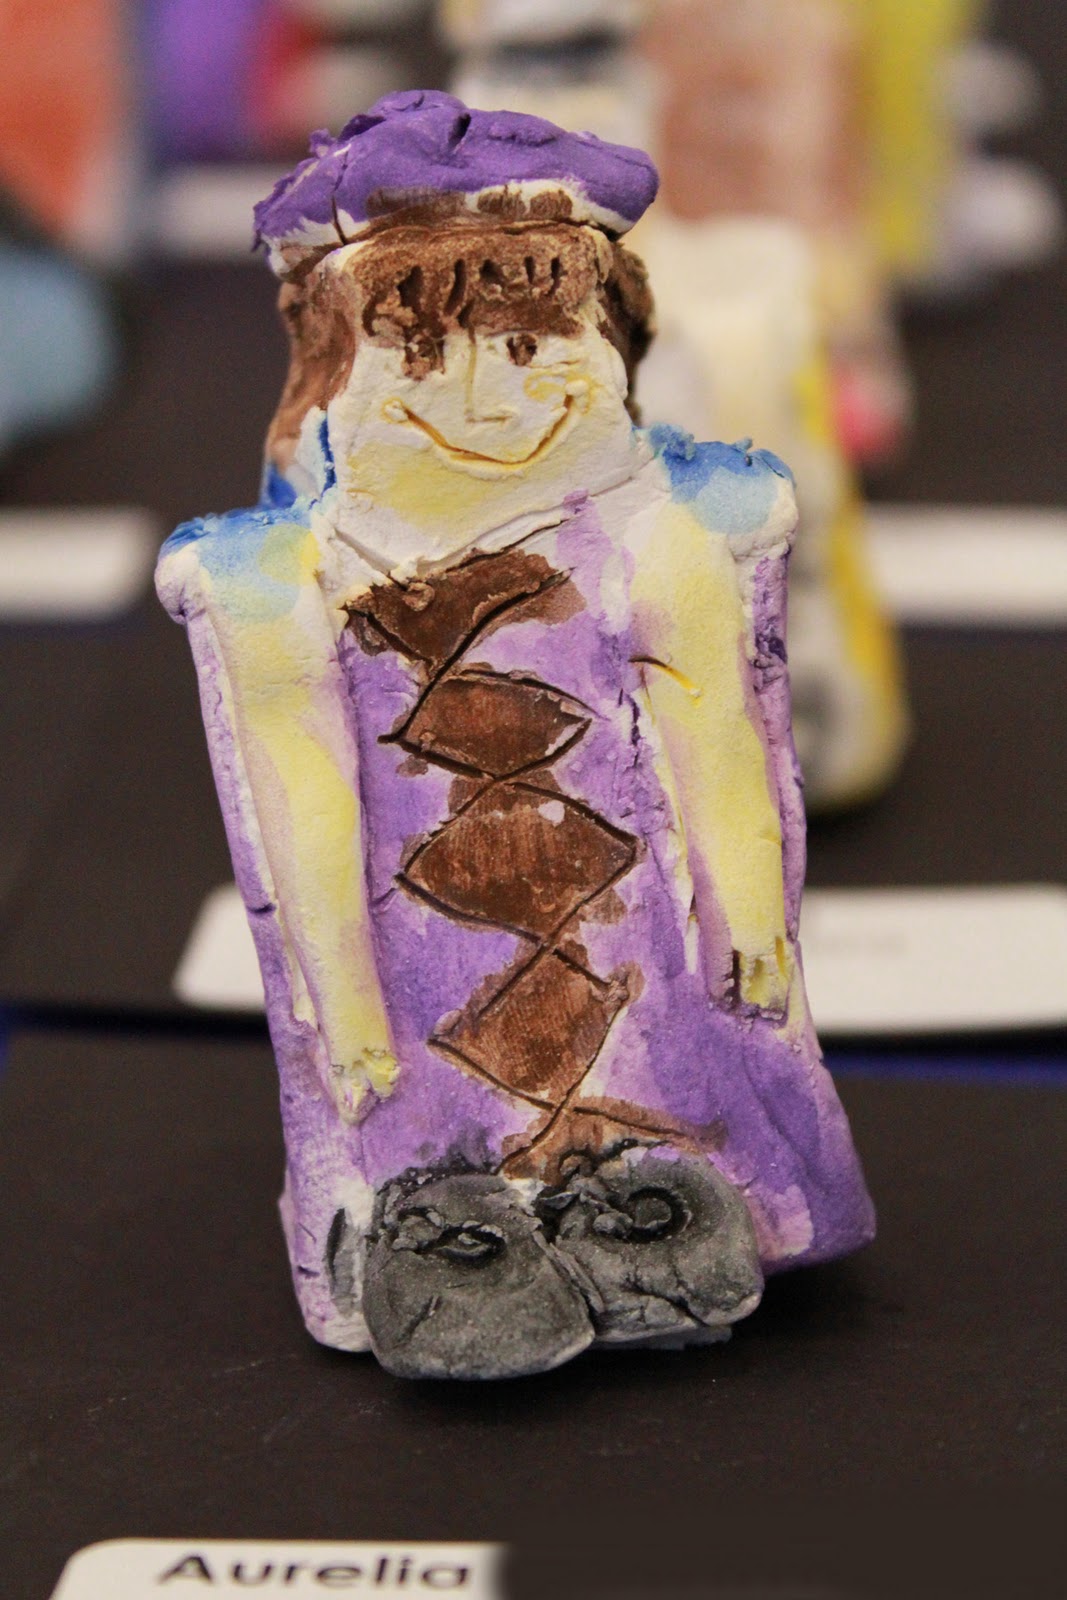
Until Day 4 & 5: Glaze them puppies. Underglaze, overglaze (kiln required), watercolor and acrylic paint (no kiln required). Voila, let the forms come to life with color!
----> Note: pictured here are 3rd coil pots, 4th architectural relief, K pinch pots, 5th food,  2nd terracotta warriors, 1st grade Louise Nevelson relief*

In conclusion: These tactile materials are really great for the middle of a busy school or rainy day. I see the kids slow down, focus and really get to know materials from nature. They learn that not all artists paint nor frame their art. Art can be created in nature and out of nature; it can be ephemeral and dynamic.  Art can be a process that soothes and allows you to look inward while expressing yourself to others. I hope you get a chance to work with some of these wonderful materials from nature. Your children will LOVE it and beg to do it again and again!
~Stephanie Noon

*credit given to
Explorations in Art, Davis (Rock lesson), Barbara C. (Leaf lesson), Nature's Art Box (Rock Garden), Anna H. (Louise Nevelson clay), Stuckey (bringing me Terracotta Warriors from China)

Tuesday, September 6, 2011

Love this Drawing Book!

My good friend Barbara gave me this book and we love it in the art room! So many kids have found inspiration from it when they don't know what to draw or need help drawing a tree. What a gem!


Friday, September 2, 2011

Art Room goes Digital

We've had a SMARTboard & webpage for a few years, but now I have a QR Code for my School Webpage! I've been frustrated that my webpage is buried on the school's website, but now it's easy to advertise it and find it. I've placed the little barcode outside both my classroom doors and on my parent volunteer board. I like qrcode.kaywa.com
The website easily generates code for any text or URL. Even if parents don't have a smartphone with an App that reads codes, this should generate discussion amongst parents and students that yes, there is an Art Webpage.
 

Tuesday, August 16, 2011

Out of my Gourd!


Gourds: Anybody worked with them? Have ideas?
I bought some sample gourds, already cleaned and dried. The Egg gourds are a good size and price (far right). The Jewelery are tiny. The Banana's shape could lend to some interesting projects. Ordered 1 Purple Martin for fun, many people use this type to make bird houses. Want to use gourds with K-5 students. I don't really want to drill and cut into them since that's a lot of prep so I guess that crosses off rattles. Ideas are dolls, ornaments, and sculptures (picturing fruit, eggs, etc.). Any suggestions guys?

Friday, August 5, 2011

The Art Room is going Green!

I've struggled over the years to get paper, and only paper, in the paper recycling bin in the art room. The kids have good intentions but in the rush of clean up and desire to go "free draw" rather than walk a few extra steps to the correct garbage can, we find interesting things in the recycling bin (and plenty of paper in the garbage can). So this June, Sarah, who will be in 5th grade this fall, painted my recycling bin! A picture says a thousand words right? Hopefully this will be a great reminder to recycle and conserve resources. Who wouldn't want to help conserve materials and preserve animal's habitats when viewing this lovely mural-in-the-round?

This beautiful painting will help kick off our fall theme~ Go Green! We will make better environmental choices in the art room, continue collecting recycled materials to make art out of (see previous "Go Green" post) and do some nature studies. I have hopes to draw from nature (flowers, leaves, sticks, trees, insects), do leaf rubbings, work with sand and rocks again and create art out of dried gourds.


Thursday, August 4, 2011

8/4-8/10/11 Beautiful, free Native American Design images from Dover


I love Dover illustrations to inspire kids in art! Do you subscribe by email to Dover's free samples of their coloring book pages, art, resources, and literature? This week's Native American Vector Motifs are stunning and a real leaping off point for an art lesson. Print/save the samples this week and/or buy their books. Check this site weekly for other motivational resources for kids' art.
http://www.doverpublications.com/samplerkids/0804/index.html