


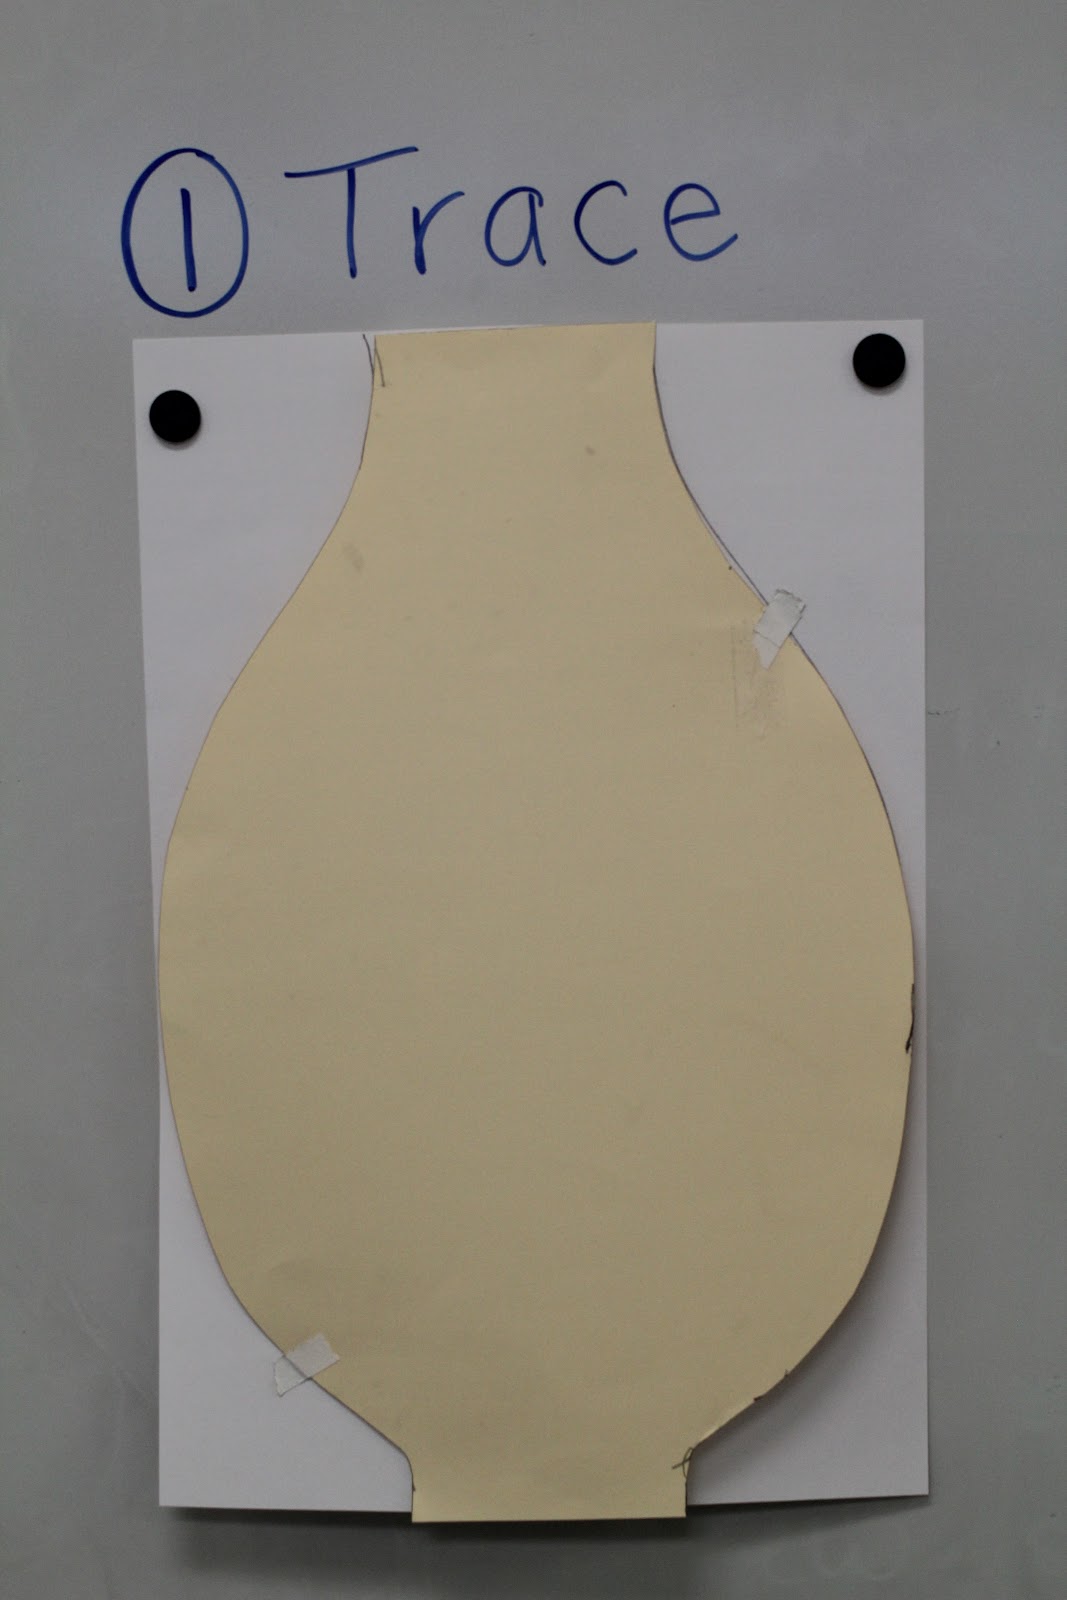
*materials: paper, markers or crayons, stapler, crepe paper, yarn, scissors
Activity: see lesson plan link and Carp Kite lesson plan
Background: Families in Japan display Koinobori (carp kites) on May 5, Children's Day, a national holiday represents strength and health in children (Japanese carp/koi are very hearty fish, who can swim upstream). The sizes and colors of the koi symbolize the members, age and gender of the family members. View the well known song about the Koinoibori on Youtube, (the last 20 seconds is an ad for learning Japanese). Thanks to Heidi Y. for the great resources!


Koi painting by Stephanie

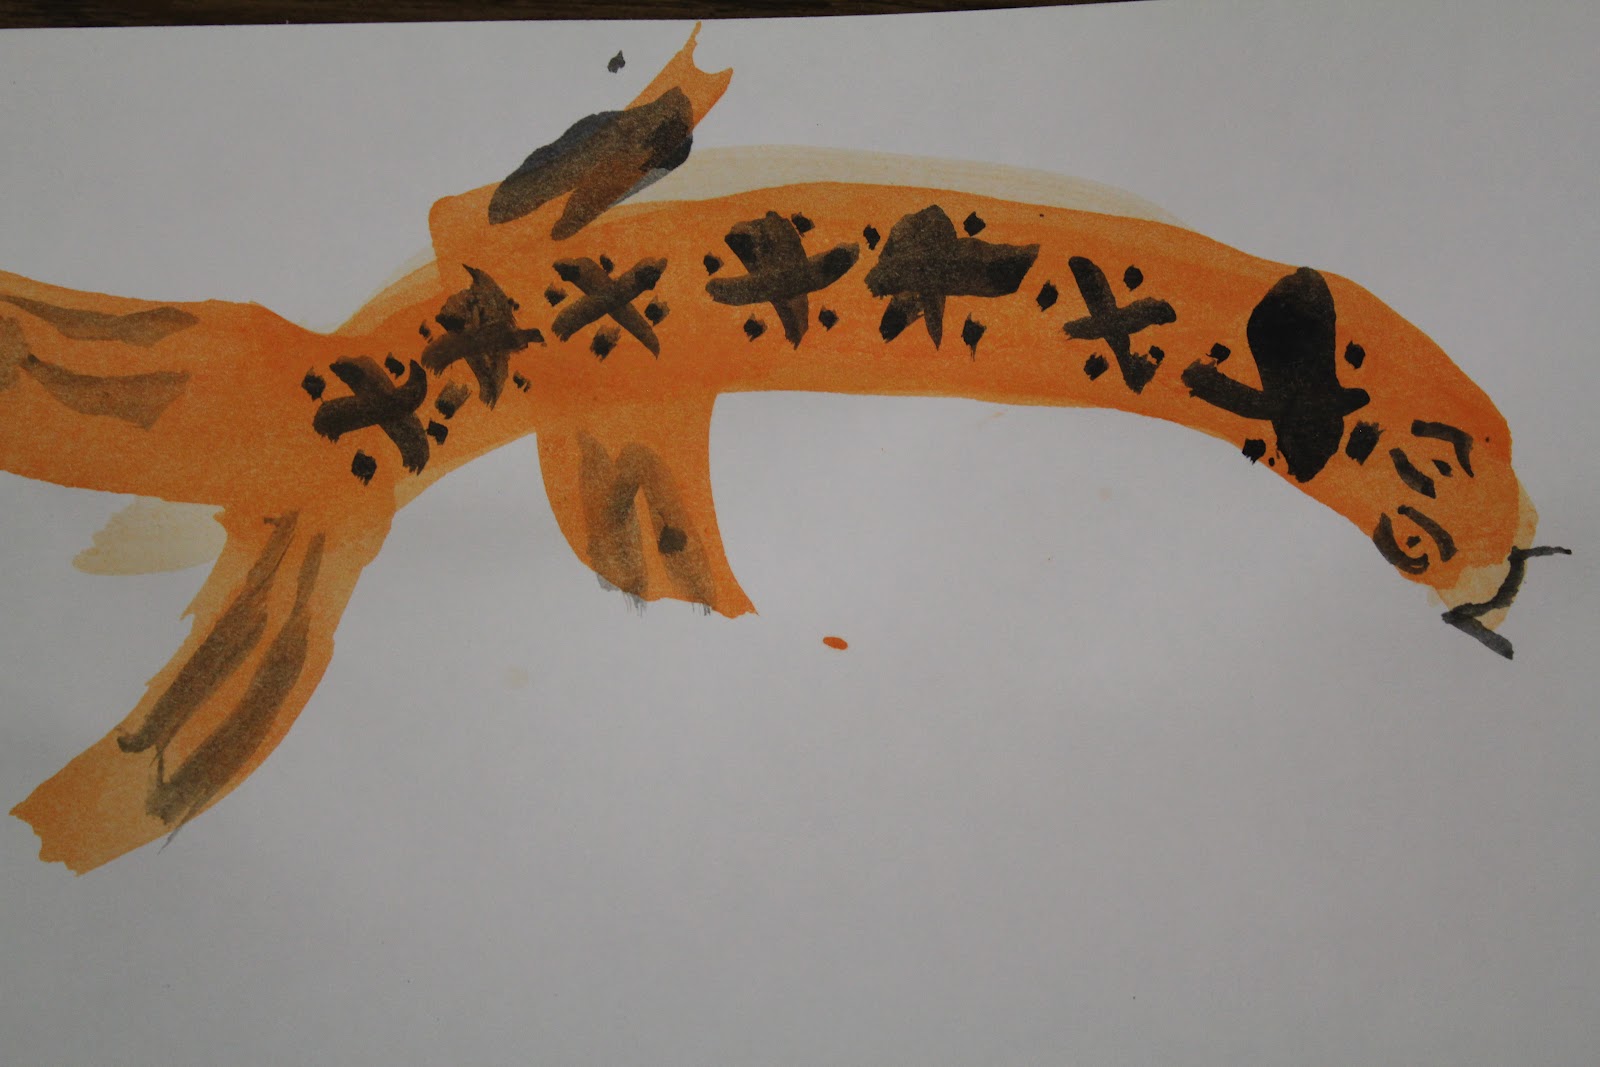


Above paintings by Kindergartners: Jack (top left), Sasha (top right), Scott (middle),
Lucas R. (bottom left), Ian (bottom right)
Japanese Koi watercolor paintings
*watercolor paints or tempera cakes, 3/4" big brushes & #3 tiny brushes, water jars, water, paper, (optional: crayons, should you choose to draw first and not teach "true" Chinese Brush Painting)
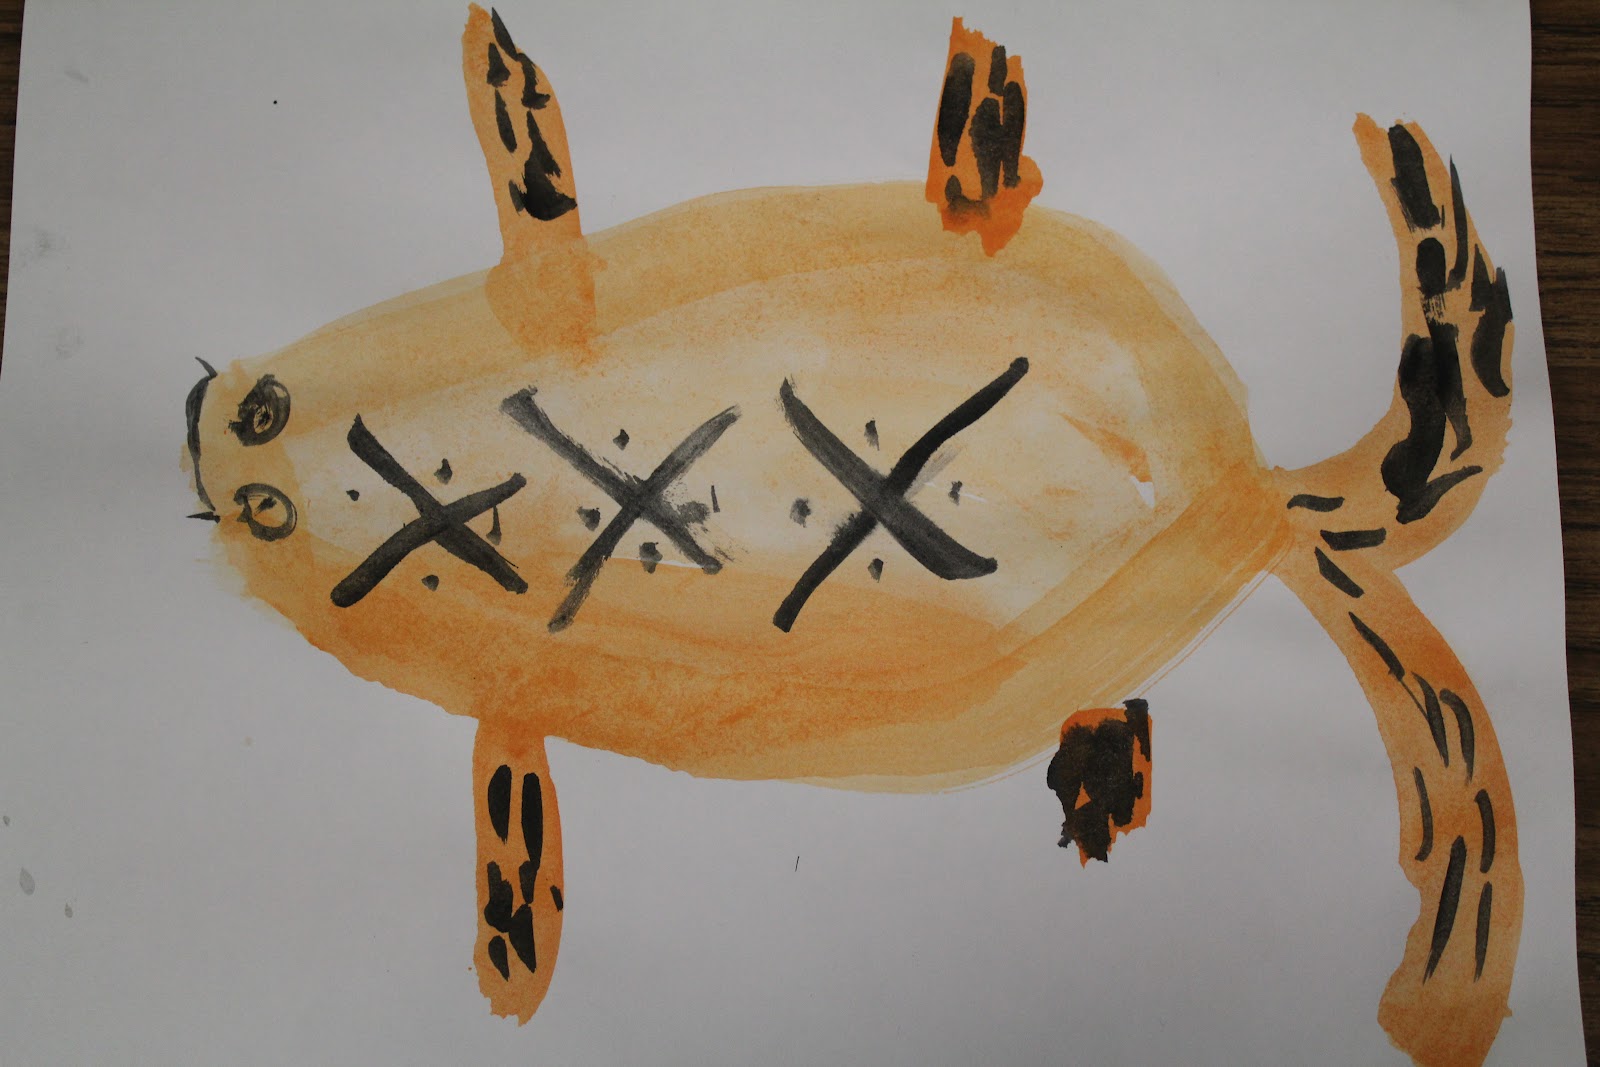
For this lesson, you introduce Chinese Brush Painting. This is an ancient method of painting based on yin and yang principals (everything in balance and harmony~ even the black ink against white paper). This style of painting takes years to master but can be very zen-like. There is no drawing before a painting is begun. Basic brush strokes are practiced first. If you want a thick brush stroke, you press down heavy on the brush. To make the brush stroke thinner, you only let the tip of the brush touch the paper. Teach students how to hold the brush (either in the center of brush handle or near the "ferrule"/part just above bristles for more detailed brushstrokes). Encourage good posture while sitting or even standing. Fluid motions are necessary along with practice, practice, practice. It helps to start on newsprint which seems less precious than white paper. Try thin, thick, vertical, horizontal, straight, curvy, long and short lines. Add more water to lighten colors and less water to darken. After practicing brush strokes, introduce the koi painting.
Show students the process step by step (body and fins first, save texture and details in face until later when paint dries a bit). Do not draw first. Plan ahead and think before you make a brushstroke. The kindergartners painted the body with 3 curved brushstrokes (tail to head). For each stroke they added a little water to their brush to make each stroke a little lighter than the last. The fins were painted just by making flicks. The tail can be 2 big brush strokes or many curvy strokes to show motion and the fan-like look. Finally add details with black and use a tiny #3 brush. You may have to dry the body of the fish a bit with a paper towel so the black doesn't bleed into the orange. Paint eyes (not in one motion but a few curved lines), whiskers, mouth, X's and dots to show texture on the body, and lines in the fins to show texture.
Tip: to get a multi-colored brushstroke you can put one color on the brush (example=orange) and then dip the tip in another color (like black in the top painting).
Another option is to have the kids draw the fish first in pencil and then outline in crayon. A beautiful painting can still be achieved although this does not teach the principals of Chinese Brush Painting.

Note: we used the Prang Tempera cakes and 3/4" big brush & #3 tiny brush for the Koi painting.
I love these paints and they last forever (think years).

Spray Bottles
see week 1, Mad Scientist Week
No comments:
Post a Comment